

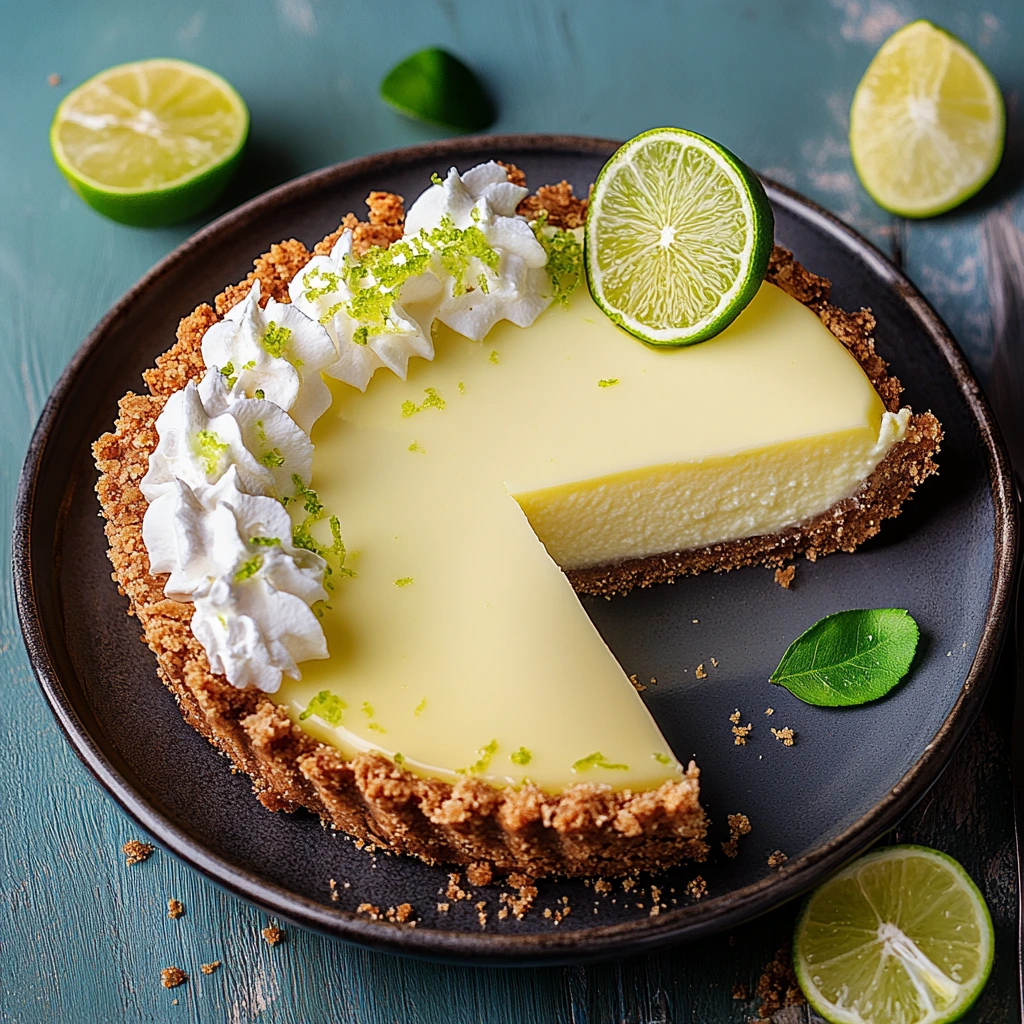
There’s nothing quite like the refreshing taste of Key Lime Pie—a perfect balance of tangy, sweet, and creamy flavors wrapped in a buttery graham cracker crust. This classic Florida dessert has been a favorite for generations, known for its zesty key lime juice, smooth sweetened condensed milk, and a delightful hint of lime zest. Whether you’re making it for a summer gathering, a family dinner, or simply to satisfy a citrus craving, this pie is a crowd-pleaser.
In this guide, we’ll walk you through an easy Key Lime Pie recipe, covering everything from choosing the best ingredients to baking and serving tips. Whether you prefer the traditional baked version or a no-bake alternative, this step-by-step guide will help you achieve a perfect, silky pie every time. Get ready to enjoy a slice of sunshine with this simple yet irresistible dessert!
What is Key Lime Pie?
The History of Key Lime Pie
Key Lime Pie is a classic Florida dessert, believed to have originated in the Florida Keys in the late 19th century. Early versions were made by fishermen using key lime juice, sweetened condensed milk, and eggs, relying on the lime’s acidity to thicken the filling. Over time, baking became common to enhance texture and safety. Today, it’s recognized as Florida’s official state pie, loved for its tangy, creamy, and refreshing flavor.
Classic vs. Modern Key Lime Pie
Traditional Key Lime Pie is made with key lime juice, condensed milk, egg yolks, and a graham cracker crust. However, many modern variations exist:
- Frozen Key Lime Pie offers a refreshing twist for warm weather.
- No-bake versions use gelatin or whipped cream instead of eggs.
- Dairy-free options replace condensed milk with coconut milk.
- Gluten-free crusts use almond flour or gluten-free cookies.
Ingredients for the Perfect Key Lime Pie
Key Ingredients You’ll Need
1. Key Limes (Juice & Zest)
Key limes are smaller and more tart than regular limes, giving the pie its signature zesty and floral flavor. Fresh key lime juice is best, but bottled key lime juice works as a substitute. Adding lime zest enhances the citrusy aroma.
2. Sweetened Condensed Milk
This thick, sweet dairy product balances the tartness of the lime juice while creating a rich, creamy texture. It also eliminates the need for extra sugar.
3. Egg Yolks
Egg yolks help thicken the filling, creating a smooth and custard-like consistency when combined with lime juice and condensed milk.
4. Graham Cracker Crust
The classic buttery and crunchy crust complements the soft, tangy filling. Made from crushed graham crackers, butter, and sugar, it’s quick to prepare and enhances the pie’s flavor.
5. Whipped Cream or Meringue (Optional)
Topping the pie with whipped cream or meringue adds a light, airy contrast to the tart filling, making it even more indulgent.
Choosing the Right Crust
The crust is key to a perfect Key Lime Pie, adding a crunchy contrast to the creamy filling. While the classic graham cracker crust is the most popular, there are other options to suit different tastes.
1. Classic Graham Cracker Crust
This crust is made with:
- Crushed graham crackers
- Melted butter (to bind)
- Sugar (for sweetness)
Simply mix, press into a pie dish, and bake for 8–10 minutes at 350°F (175°C). Pre-baking ensures a firm, crisp texture that won’t get soggy.
2. Alternative Crust Options
- Pastry Crust – A traditional pie dough for a flakier base.
- Oreo Crust – Adds a rich chocolate twist.
- Gluten-Free Crust – Made with almond flour or gluten-free graham crackers.
- Coconut Crust – A tropical take using shredded coconut.
3. To Bake or Not to Bake?
- Baked Crust – Enhances crispiness and prevents sogginess.
- No-Bake Crust – Chill for 15–20 minutes to firm up.
Optional Toppings for Extra Flavor
Enhance your Key Lime Pie with these delicious toppings for added texture and flavor.
1. Whipped Cream (Classic Choice)
Light and creamy, whipped cream balances the tartness of the pie. Simply whip heavy cream, powdered sugar, and vanilla until soft peaks form, then pipe or spread over the pie. Garnish with lime zest or slices for a fresh touch.
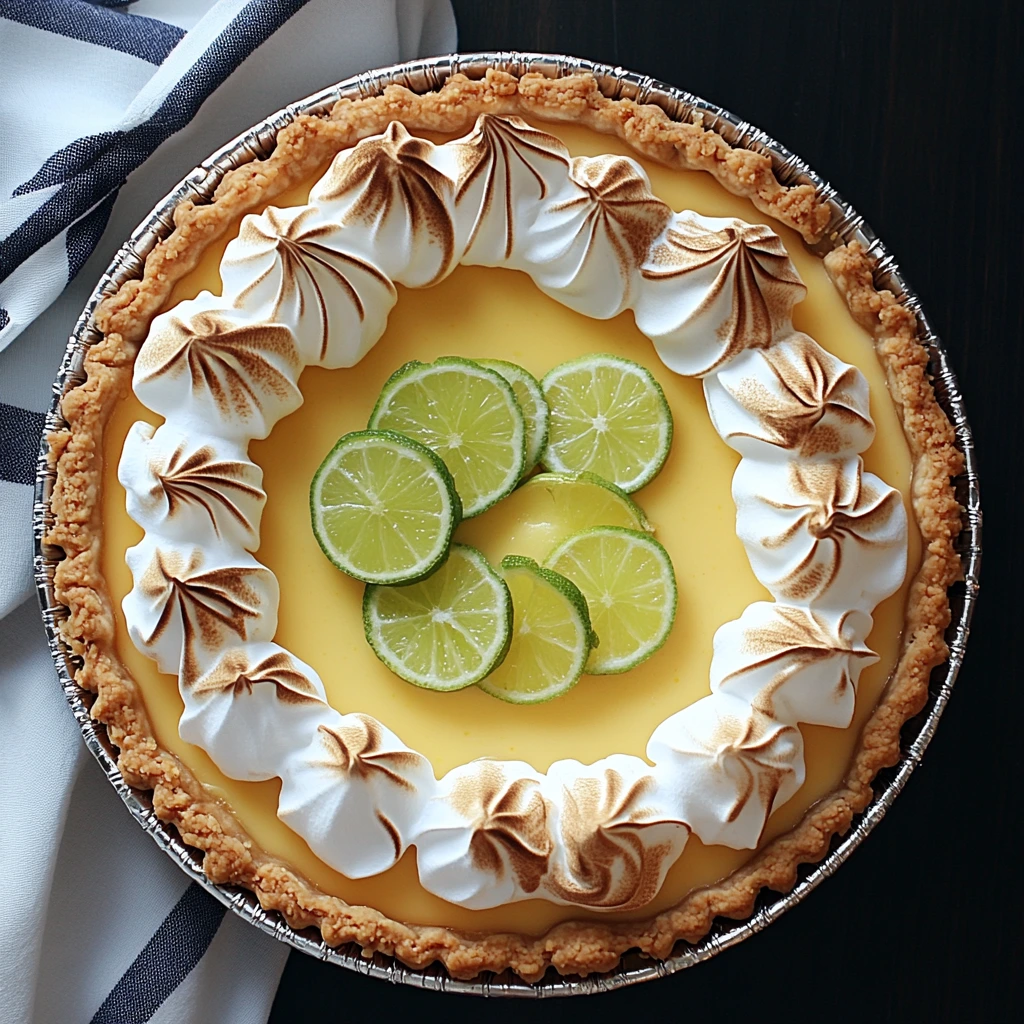
2. Meringue (Traditional Alternative)
For a classic twist, top with fluffy meringue, made by beating egg whites and sugar until glossy peaks form. Toast lightly for a golden finish.
3. Graham Cracker or Cookie Crumble
Sprinkle crushed graham crackers, vanilla wafers, or digestive biscuits for extra crunch.
4. Toasted Coconut or Almonds
A tropical twist with toasted coconut flakes or sliced almonds adds a subtle crunch.
5. Chocolate or Caramel Drizzle
Drizzle white chocolate or salted caramel for a rich, indulgent contrast to the tangy filling.
Final Garnishes
- Lime zest or slices – For a citrusy pop.
- Mint leaves – Adds freshness.
Step-by-Step Instructions to Make Key Lime Pie
Preparing the Crust
A well-prepared crust adds the perfect crunchy contrast to the creamy Key Lime Pie filling. The graham cracker crust is the most popular choice, offering a buttery, slightly sweet base that complements the tangy lime flavor.
1. Classic Graham Cracker Crust
Ingredients:
- 1 ½ cups crushed graham crackers
- ⅓ cup melted butter
- ¼ cup sugar
Steps:
- Crush the graham crackers into fine crumbs.
- Mix with melted butter and sugar until evenly coated.
- Press firmly into a 9-inch pie dish, covering the bottom and sides.
- Bake at 350°F (175°C) for 8–10 minutes, then cool before adding the filling.
2. No-Bake Crust Option
For a quicker version, chill the prepared crust in the fridge for 15–20 minutes instead of baking.
3. Alternative Crusts
- Oreo Crust – Adds a chocolatey twist.
- Almond or Coconut Crust – A gluten-free option with a nutty flavor.
- Pastry Crust – A firmer, flakier base (less common).
Baked vs. No-Bake: Which is Better?
- No-Bake Crust – Quick and easy, but softer.
- Baked Crust – Crispier and sturdier, prevents sogginess.
Making the Key Lime Filling
The key lime filling is creamy, tangy, and perfectly balanced between sweet and tart flavors. With just a few ingredients, it’s easy to prepare and creates the pie’s signature smooth texture.
1. Key Ingredients
- Key Lime Juice – Freshly squeezed for authentic zesty flavor.
- Lime Zest – Enhances citrus aroma.
- Sweetened Condensed Milk – Adds creaminess and natural sweetness.
- Egg Yolks – Thicken the filling for a custard-like texture.
2. Step-by-Step Instructions
- Whisk 3 egg yolks until thick and pale.
- Mix in 1 can (14 oz) of condensed milk until smooth.
- Add ½ cup key lime juice + 1 tsp lime zest, stirring until fully combined.
- Let it rest for 5–10 minutes to thicken naturally.
- Pour into the crust and bake at 350°F (175°C) for 15–18 minutes until set but slightly jiggly in the center.
- Cool for 30 minutes, then chill for at least 3–4 hours to set.
3. No-Bake Option
Replace eggs with whipped cream or Greek yogurt, then chill until firm for a lighter, mousse-like texture.
Baking and Chilling the Pie
Achieving the perfect Key Lime Pie depends on proper baking and chilling, ensuring a smooth, creamy texture while preserving its signature tart flavor. Follow these key steps for the best results.
1. Baking the Pie: Achieving the Right Texture
After preparing the filling and pouring it into the crust, the pie needs to be gently baked to set properly without overcooking.
Baking Steps:
- Preheat the oven to 350°F (175°C).
- Place the pie on the middle rack to ensure even baking.
- Bake for 15–18 minutes, until the edges are set but the center has a slight jiggle. Overbaking can cause the filling to crack or become too firm.
- Check for doneness by lightly shaking the pie. The center should move slightly but not be liquid. It will firm up as it cools.
- Remove from the oven and let it cool at room temperature for 30 minutes.
2. The Importance of Chilling
Chilling is crucial for setting the filling and developing the perfect texture. It allows the flavors to meld and ensures a firm, creamy consistency when sliced.
Chilling Steps:
- Refrigerate for at least 3–4 hours (preferably overnight) for best results.
- Cover loosely with plastic wrap to prevent condensation from forming on the surface.
- For a firmer texture, let the pie chill for at least 6 hours before serving.
3. Quick-Chill Method (If Short on Time)
If you need the pie to set faster:
- Place it in the freezer for 1 hour, then transfer to the fridge for another hour.
- Avoid fully freezing unless making a frozen Key Lime Pie.
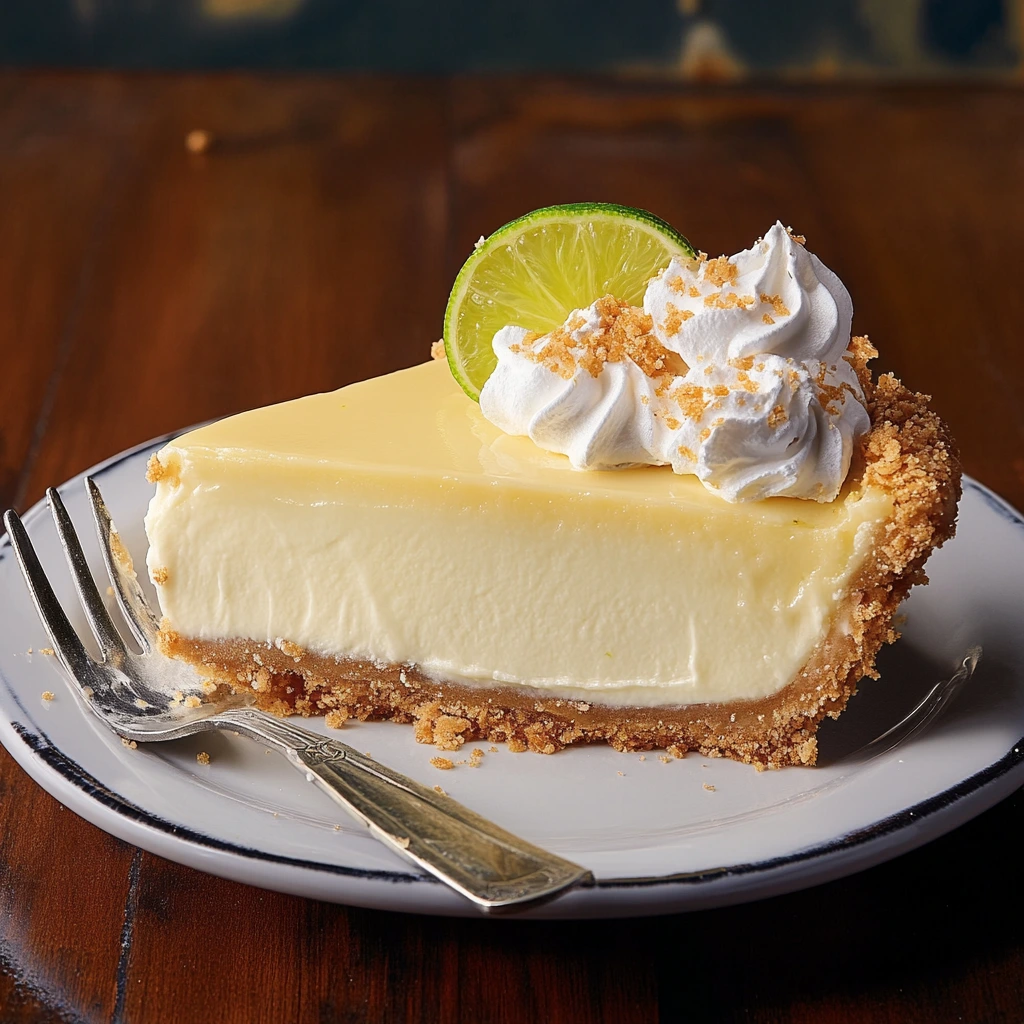
4. Serving the Pie
- Slice with a warm knife for clean cuts.
- Serve chilled with whipped cream and lime zest for extra flavor.
Tips and Variations for Key Lime Pie
How to Make a No-Bake Key Lime Pie
A No-Bake Key Lime Pie is a perfect alternative to the traditional baked version, offering the same creamy, tangy, and refreshing flavor with less effort. It’s great for warm weather or when you want a quick, easy dessert without turning on the oven.
Key Ingredients for a No-Bake Version
Instead of eggs, a no-bake Key Lime Pie relies on whipped ingredients to create a firm yet smooth texture. Here’s what you’ll need:
- Key Lime Juice – Freshly squeezed or bottled for authentic zesty flavor.
- Sweetened Condensed Milk – Adds richness and sweetness without needing sugar.
- Cream Cheese or Greek Yogurt – Gives the filling structure and thickness without baking.
- Whipped Cream – Lightens the filling and helps it set properly.
- Graham Cracker Crust – The classic base, which firms up when chilled.
Instructions
- Prepare the Crust: Mix crushed graham crackers, melted butter, and sugar, then press into a pie dish and chill for 15–20 minutes.
- Make the Filling: Whisk condensed milk, key lime juice, and zest, then beat in cream cheese or Greek yogurt until smooth. Fold in whipped cream.
- Assemble & Chill: Pour the filling into the crust and refrigerate for 4+ hours until set.
Serving Tips
- Garnish with whipped cream & lime zest.
- Slice with a warm knife for clean cuts.
- Keep refrigerated until serving.
Gluten-Free and Dairy-Free Alternatives
For those with dietary restrictions, you can still enjoy a delicious Key Lime Pie by making a gluten-free or dairy-free version without compromising on taste or texture. Here’s how to adjust the recipe while keeping the pie creamy, tangy, and satisfying.
1. Gluten-Free Key Lime Pie
A gluten-free crust is an easy swap for those avoiding wheat. Instead of traditional graham crackers, try these alternatives:
Gluten-Free Crust Options:
- Gluten-Free Graham Crackers – Simply substitute regular graham crackers with a gluten-free brand.
- Almond Flour Crust – Mix 1 ½ cups almond flour, ¼ cup melted butter, and 2 tbsp sugar, then press into a pie dish and bake for 8–10 minutes.
- Coconut Crust – Combine toasted shredded coconut, almond flour, and butter for a tropical twist.
2. Dairy-Free Key Lime Pie
To replace dairy-based ingredients, use plant-based alternatives that still offer a creamy texture and rich flavor.
Dairy-Free Substitutes:
- Sweetened Condensed Coconut Milk – A great alternative to traditional condensed milk, keeping the pie sweet and smooth.
- Coconut Cream or Cashew Cream – Blended coconut cream or soaked cashews can mimic the creaminess of condensed milk.
- Vegan Butter or Coconut Oil – Use in the crust instead of dairy butter.
3. How to Make a Gluten-Free, Dairy-Free Key Lime Pie
- Prepare the Crust: Use a gluten-free or nut-based crust, press into a pie dish, and chill or bake as needed.
- Make the Filling: Whisk together sweetened condensed coconut milk, key lime juice, and a dairy-free thickener (such as blended cashew cream).
- Chill Until Set: Pour into the crust and refrigerate for at least 4 hours to firm up.
- Top with Dairy-Free Whipped Cream: Use whipped coconut cream for a fluffy finish.
4. Final Tips
Garnish with lime zest and toasted coconut for extra flavor.
Serving and Storing Your Pie
To fully enjoy your Key Lime Pie, proper serving and storage are essential. The right techniques will help maintain its creamy texture, fresh flavor, and perfect presentation.
1. How to Serve Key Lime Pie
Key Lime Pie is best served chilled for a refreshing, tangy taste. Follow these tips for the perfect slice:
Serving Tips:
- Chill before serving – Let the pie set in the refrigerator for at least 4 hours, preferably overnight.
- Use a warm knife for clean slices – Dip a sharp knife in warm water, wipe it dry, and slice the pie for smooth, even cuts.
- Garnish before serving – Add whipped cream, lime zest, thin lime slices, or toasted coconut for extra flavor and a beautiful presentation.
- Pair with a side – Serve with a cup of coffee, iced tea, or fresh berries for a complementary taste.
2. Storing Key Lime Pie
Proper storage keeps the pie fresh and flavorful while preserving its creamy consistency.
Refrigeration (Best for Short-Term Storage)
- Cover the pie with plastic wrap or foil and store it in the fridge for up to 3–4 days.
- Keep it in an airtight container to prevent it from absorbing fridge odors.
Freezing (For Longer Storage)
Key Lime Pie freezes well, making it a great make-ahead dessert.
- Wrap the whole pie or slices in plastic wrap, then in aluminum foil to prevent freezer burn.
- Freeze for up to 2 months.
- Thaw in the fridge for a few hours before serving for the best texture.
3. Can You Store Key Lime Pie at Room Temperature?
Since the pie contains dairy and eggs, it should not be left at room temperature for more than 2 hours. Always store it chilled for safety and freshness.
Key Lime Pie is a timeless, refreshing dessert that perfectly balances tangy citrus, creamy texture, and a crisp crust. Whether you make the classic baked version, a no-bake alternative, or adapt it to be gluten-free or dairy-free, this pie remains a crowd-pleasing favorite.
By following the right ingredients, baking, chilling, and storage techniques, you’ll achieve a smooth, flavorful, and perfectly set Key Lime Pie every time. Serve it with whipped cream, lime zest, or a drizzle of caramel for an extra touch of indulgence.
With its zesty flavor and rich texture, this pie is perfect for warm-weather gatherings, holiday celebrations, or just satisfying a citrus craving. Enjoy every bite of this creamy, tangy, and delicious classic!