
The Perfect Roasted Turkey for Any Occasion
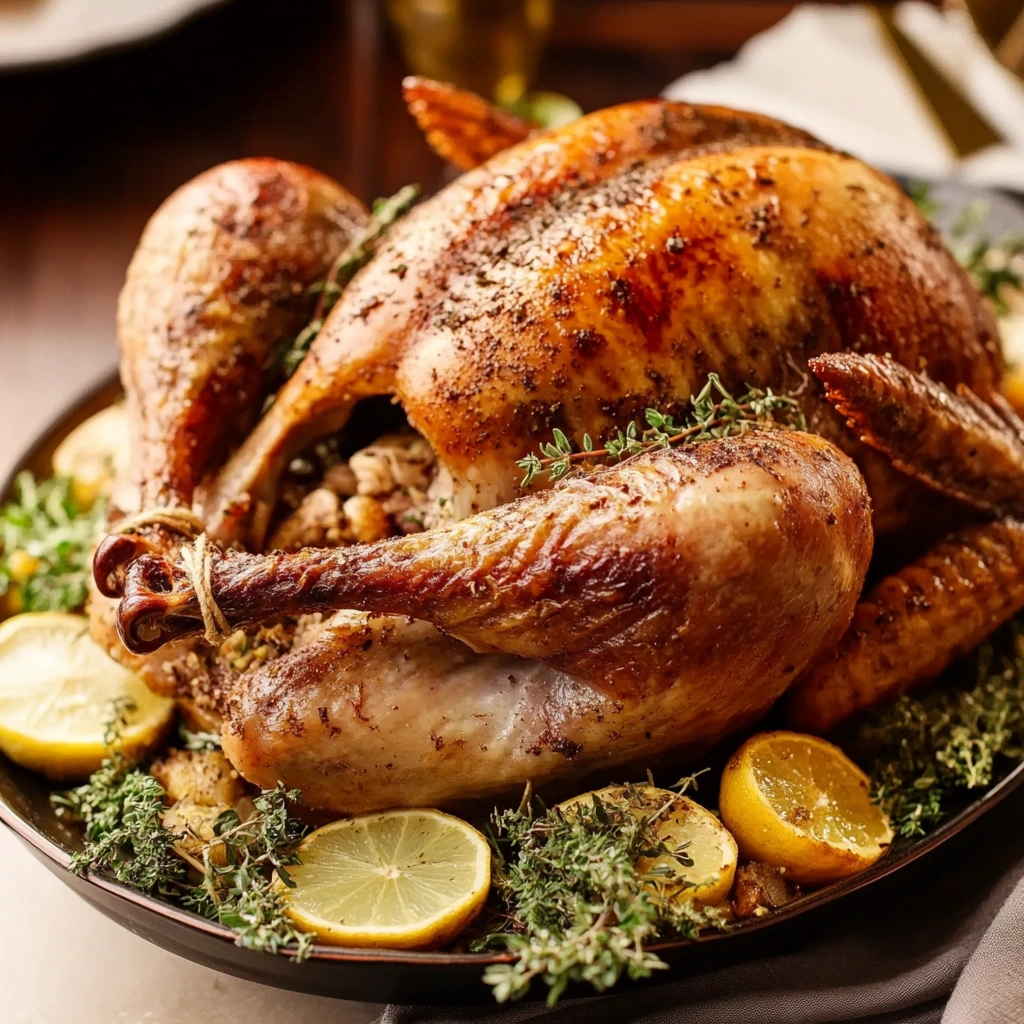
A roasted turkey is the centerpiece of many festive gatherings, from Thanksgiving feasts to Christmas dinners and special family meals. Its golden, crispy skin and juicy, flavorful meat make it a showstopper on any table. However, achieving that perfect balance of tenderness and taste can be challenging without the right techniques.
Whether you’re a seasoned cook or preparing a roasted turkey for the first time, mastering the secrets of brining, seasoning, and proper roasting temperatures will make all the difference. In this guide, we’ll walk you through everything—from selecting the right turkey and brining for extra juiciness to roasting it to perfection with herbs, butter, and expert tips.
Get ready to impress your guests with a classic roasted turkey that’s crispy on the outside, tender on the inside, and bursting with delicious flavors!
How to Prepare a Roasted Turkey for Maximum Flavor
Choosing the Right Turkey Size and Type
1. Fresh vs. Frozen Turkey: Which is Best?
- Fresh Turkey: More flavorful, retains moisture, but must be cooked within a few days.
- Frozen Turkey: Budget-friendly, convenient for advance planning, but requires proper thawing.
👉 Best Choice: Fresh for superior taste, frozen for convenience.
2. How Much Turkey Per Person?
Use this guide to ensure enough servings:
| Guests | Turkey Size |
|---|---|
| 4-6 | 8-10 lbs |
| 6-8 | 10-12 lbs |
| 8-10 | 12-14 lbs |
| 10-12 | 14-16 lbs |
| 12-14 | 16-18 lbs |
| 14+ | 18+ lbs |
Tip: If you want leftovers, go for 1.5 lbs per person.
3. Organic, Free-Range, or Conventional Turkey?
- Conventional: Most common, affordable, mild flavor.
- Organic: No antibiotics, healthier, leaner meat.
- Free-Range: More flavorful, firmer texture.
- Heritage: Traditional breed, gamier taste, less breast meat.
👉 Best Choice: Organic or free-range for quality; heritage for deep flavor.
Brining vs. Dry Rub – Which is Better?
Both brining and dry rubs enhance a roasted turkey’s flavor and texture, but they work differently. Here’s a quick comparison to help you choose the best method.
1. Wet Brining (Saltwater Soak)
Method: Soaking the turkey in a saltwater solution for 12-24 hours to retain moisture.
✅ Juicy, tender meat
✅ Deep flavor penetration
❌ Requires fridge space
❌ Can prevent crispy skin
Simple Wet Brine:
- 1 gallon water, ½ cup salt, ¼ cup sugar
- Garlic, rosemary, thyme, lemon
How to Brine:
- Submerge turkey in brine and refrigerate.
- Rinse, pat dry, and let air-dry for crispy skin.
2. Dry Rub (Salt & Spice Coating)
Method: Rubbing salt and seasonings directly onto the turkey for 12-24 hours before roasting.
✅ Crispy, flavorful skin
✅ No extra fridge space needed
❌ Doesn’t add extra moisture
❌ Needs resting time for best results
Simple Dry Rub:
- 3 tbsp salt, 1 tbsp black pepper, paprika, garlic powder, thyme, sage
How to Apply:
- Pat turkey dry, massage rub over and under the skin.
- Rest in the fridge uncovered for 12-24 hours.
3. Which One is Best?
| Feature | Wet Brining | Dry Rub |
|---|---|---|
| Juiciness | High | Medium |
| Crispy Skin | No | Yes |
| Ease | Requires soaking | Simple application |
| Space Needed | Large container | Minimal space |
- Choose wet brining for extra juiciness.
- Use a dry rub for crispy, flavorful skin.
- For the best of both worlds, try dry brining (seasoning without liquid) for moist meat and crispy skin!

Essential Ingredients for a Perfect Roasted Turkey
The right ingredients make all the difference in a juicy, flavorful roasted turkey. Here’s what you need:
1. Turkey: The Star Ingredient
✔️ Fresh vs. Frozen: Fresh for better texture, frozen for convenience.
✔️ Size Guide: 1-1.5 lbs per person ensures enough servings.
✔️ Pat-Dry: Helps achieve crispy skin.
2. Butter or Oil: Locks in Moisture
- Unsalted Butter – Rich flavor, tender meat.
- Olive Oil – Light and crisp finish.
- Garlic Herb Butter – Enhances flavor under the skin.
🔹 Tip: Butter under the skin helps self-baste for juicier meat.
3. Herbs & Aromatics: Deep Flavor
- Thyme, Rosemary, Sage – Classic earthy taste.
- Onions, Garlic, Lemon – Infuse natural sweetness and freshness.
🔹 Tip: Stuffing with aromatics improves airflow and flavor.
4. Seasonings & Spices: Elevating Taste
- Salt & Black Pepper – Essential base seasoning.
- Smoked Paprika, Garlic Powder – Rich, smoky depth.
- Cayenne (Optional) – Adds a mild kick.
🔹 Tip: Season under the skin for maximum flavor.
5. Broth: Prevents Dryness
- Chicken or Turkey Broth – Keeps turkey moist and enhances pan drippings.
🔹 Tip: Baste every 30-40 minutes to maintain juiciness.
Ingredient Cheat Sheet (Quick Reference Table)
| Ingredient | Purpose |
|---|---|
| Whole Turkey (12-15 lbs) | Main protein |
| Unsalted Butter (½ cup) | Adds moisture & crispiness |
| Olive Oil (Optional) | Helps achieve crispy skin |
| Fresh Herbs (Thyme, Rosemary, Sage) | Enhances flavor |
| Onion & Garlic (1 each, quartered) | Adds depth of flavor |
| Lemon (1, sliced) | Provides citrus balance |
| Salt & Black Pepper (To taste) | Base seasoning |
| Smoked Paprika (1 tbsp) | Adds smokiness |
| Chicken or Turkey Broth (2 cups) | Keeps turkey moist |

Step-by-Step Guide to Roasting a Turkey
Prepping the Turkey for Roasting
Proper preparation is key to achieving a juicy, flavorful roasted turkey with golden, crispy skin. Follow these essential steps to ensure your turkey is ready for the oven.
1. Thawing the Turkey Properly
If using a frozen turkey, it must be completely thawed before roasting to ensure even cooking.
Thawing Methods:
✔️ Refrigerator Method (Best & Safest)
- Thaw in the fridge at 40°F (4°C).
- Takes 24 hours per 4-5 lbs (Example: A 12-lb turkey needs 3 days).
✔️ Cold Water Method (Faster Option)
- Submerge the turkey in cold water, changing water every 30 minutes.
- Thaws at 30 minutes per pound (Example: A 12-lb turkey takes 6 hours).
🔹 Tip: Never thaw at room temperature to avoid bacterial growth.
2. Cleaning & Drying the Turkey
Once thawed, remove the turkey from its packaging and take out the giblets and neck from the cavity.
✔️ Pat the turkey dry with paper towels – this helps the skin crisp up in the oven.
✔️ Trim excess fat or loose skin for even roasting.
🔹 Tip: Do not rinse the turkey, as it spreads bacteria without improving flavor or cleanliness.
3. Seasoning the Turkey
Proper seasoning ensures the turkey is flavorful from the inside out.
Season Under the Skin for Maximum Flavor
✔️ Loosen the skin gently using your hands or a spoon.
✔️ Rub softened butter and herbs directly under the skin.
Season the Outside and Cavity
✔️ Generously coat the turkey with salt, black pepper, garlic powder, and smoked paprika.
✔️ Stuff the cavity with onion, garlic, lemon, and fresh herbs for extra aroma.
🔹 Tip: Let the seasoned turkey rest for 12-24 hours in the fridge for deeper flavor.
4. Trussing the Turkey (Optional)
Trussing (tying the legs together) helps the turkey cook evenly.
✔️ Use kitchen twine to tie the legs together and tuck the wings under the body.
✔️ This prevents overcooked wings and keeps the turkey looking neat.
🔹 Tip: If you prefer crispy skin all around, skip trussing to allow better airflow.
5. Preparing the Roasting Pan
✔️ Use a roasting rack to allow heat circulation around the turkey.
✔️ Add chicken broth, herbs, and aromatics to the pan for moisture and flavorful drippings.
✔️ Place turkey breast-side up for even cooking.
🔹 Tip: Lining the pan with foil makes cleanup easier.
Quick Prepping Checklist
| Step | Key Actions |
|---|---|
| Thawing | Defrost in fridge (24 hrs per 4-5 lbs) or cold water (30 min per lb) |
| Cleaning | Remove giblets, pat dry, no rinsing |
| Seasoning | Butter under skin, season cavity & outside |
| Trussing (Optional) | Tie legs together, tuck wings |
| Roasting Pan Prep | Use rack, add broth & aromatics |
Roasting Time and Temperature Guide
Cooking a roasted turkey at the right temperature ensures juicy meat and crispy skin. Follow these guidelines for perfect results.
1. Ideal Oven Temperature
- 325°F (165°C) – Best for even cooking and moisture retention.
- 350°F (175°C) – Faster cooking, but requires monitoring.
- Avoid low temps (below 275°F/135°C) – Unsafe and uneven results.
2. Roasting Time Chart (At 325°F/165°C)
| Turkey Size | Unstuffed | Stuffed |
|---|---|---|
| 8-10 lbs | 2 ¾ – 3 hrs | 3 – 3 ½ hrs |
| 12-14 lbs | 3 ¼ – 3 ¾ hrs | 3 ¾ – 4 ¼ hrs |
| 16-18 lbs | 4 ¼ – 4 ½ hrs | 4 ¾ – 5 hrs |
| 20-24 lbs | 4 ¾ – 5 ¼ hrs | 5 ¼ – 6 hrs |
🔹 Tip: Use a meat thermometer for accuracy.
3. Internal Temperature Guide
- 165°F (75°C) in the breast
- 175°F (80°C) in the thigh
- 165°F (75°C) for stuffing (if used)
4. Resting for Juiciness
- Let turkey rest for 30-45 minutes before carving.
- Loosely tent with foil to keep warm without trapping steam.
Tips for Basting and Achieving Crispy Skin
Get a juicy turkey with golden, crispy skin by following these simple tips.
1. Basting: Does It Help?
- Keeps meat moist and enhances flavor.
- Adds a golden-brown color to the skin.
- ❌ Too much basting can soften the skin.
🔹 Tip: Baste every 30-40 minutes, but stop in the last 45 minutes for crispier skin.
2. Best Basting Methods
- Classic Basting: Spoon pan juices over the turkey.
- Butter Basting: Brush melted butter for extra flavor.
- Broth/Wine Basting: Enhances depth for rich gravy.
🔹 Tip: Don’t overdo it! Opening the oven too often lowers the temperature.
3. How to Get Crispy Skin
- Pat dry before roasting to remove excess moisture.
- Use a dry brine (salt & spices) for better texture.
- Coat with butter or oil for even browning.
- Roast at 425°F (220°C) for 30 minutes, then lower to 325°F (165°C).
🔹 Tip: Let turkey rest uncovered in the fridge for 12-24 hours before roasting for extra crispiness.
Carving and Serving a Roasted Turkey
How to Properly Rest the Turkey
Resting the turkey after roasting is a crucial step to ensure juicy, flavorful meat. Cutting into the turkey too soon causes the juices to run out, leading to dry meat. Here’s how to do it right.
1. Why Resting is Essential
- Retains Moisture: Juices redistribute throughout the meat, keeping it tender.
- Easier Carving: The meat firms up, preventing it from falling apart.
- Enhances Flavor: Allows time for seasonings and juices to settle.
🔹 Tip: Skipping the resting step can result in dry, less flavorful turkey.
2. How Long Should You Rest a Turkey?
The turkey should rest for at least 30 minutes before carving.
| Turkey Size | Recommended Resting Time |
|---|---|
| Under 12 lbs | 20-30 minutes |
| 12-16 lbs | 30-40 minutes |
| 16-20 lbs | 40-45 minutes |
| Over 20 lbs | 45-60 minutes |
🔹 Tip: The larger the turkey, the longer the resting time.
3. Best Way to Rest a Turkey
- Place on a cutting board with a rim to catch juices.
- Loosely tent with foil to keep warm without trapping steam.
- Let it rest undisturbed for at least 30 minutes.
🔹 Tip: Avoid tightly wrapping the turkey with foil—it can make the skin soggy.
4. What to Do While the Turkey Rests
- Make the Gravy: Use pan drippings to prepare a rich, flavorful gravy.
- Reheat Side Dishes: Utilize the oven while the turkey is resting.
- Carve Just Before Serving: Prevents the meat from drying out.
Easy Step-by-Step Carving Tips
Carve your roasted turkey neatly with these simple steps for clean slices and easy serving.
1. Essential Carving Tools
- Sharp Carving Knife – For smooth, precise cuts.
- Carving Fork – Holds the turkey steady.
- Cutting Board with Juice Groove – Prevents mess.
🔹 Tip: A sharp knife prevents tearing the meat.
2. Let the Turkey Rest
- Rest for 30 minutes to lock in juices.
- Tent loosely with foil to keep warm.
🔹 Tip: Carving too soon leads to dry meat.
3. Step-by-Step Carving Guide
1: Remove the Legs & Thighs
- Cut through the joint where the leg meets the breast.
- Separate the thigh from the drumstick at the joint.
2: Remove the Wings
- Cut through the joint where the wing meets the body.
3: Slice the Breast Meat
- Cut along the breastbone, following the ribcage.
- Lift the breast off and slice against the grain.
4: Serve and Enjoy
- Arrange slices neatly and serve warm.
🔹 Tip: Store leftover turkey with a little broth to keep it moist.

Serving Suggestions and Best Side Dishes
How to Present Your Roasted Turkey
- Carve and Arrange Neatly: Place sliced turkey on a large serving platter, separating white and dark meat.
- Garnish for Visual Appeal: Use fresh herbs like rosemary, thyme, and sage, along with citrus slices, cranberries, or roasted garlic.
- Serve with Gravy: Keep a warm gravy boat nearby for extra moisture and flavor.
Classic Side Dishes to Pair with Turkey
Pair your juicy turkey with a mix of classic and modern sides for a well-balanced meal.
Traditional Favorites:
- Mashed Potatoes – Buttery and creamy, perfect with gravy.
- Stuffing/Dressing – A savory mix of bread, herbs, and seasonings.
- Cranberry Sauce – Sweet-tart contrast to balance the richness of turkey.
- Green Bean Casserole – A creamy, crispy veggie side.
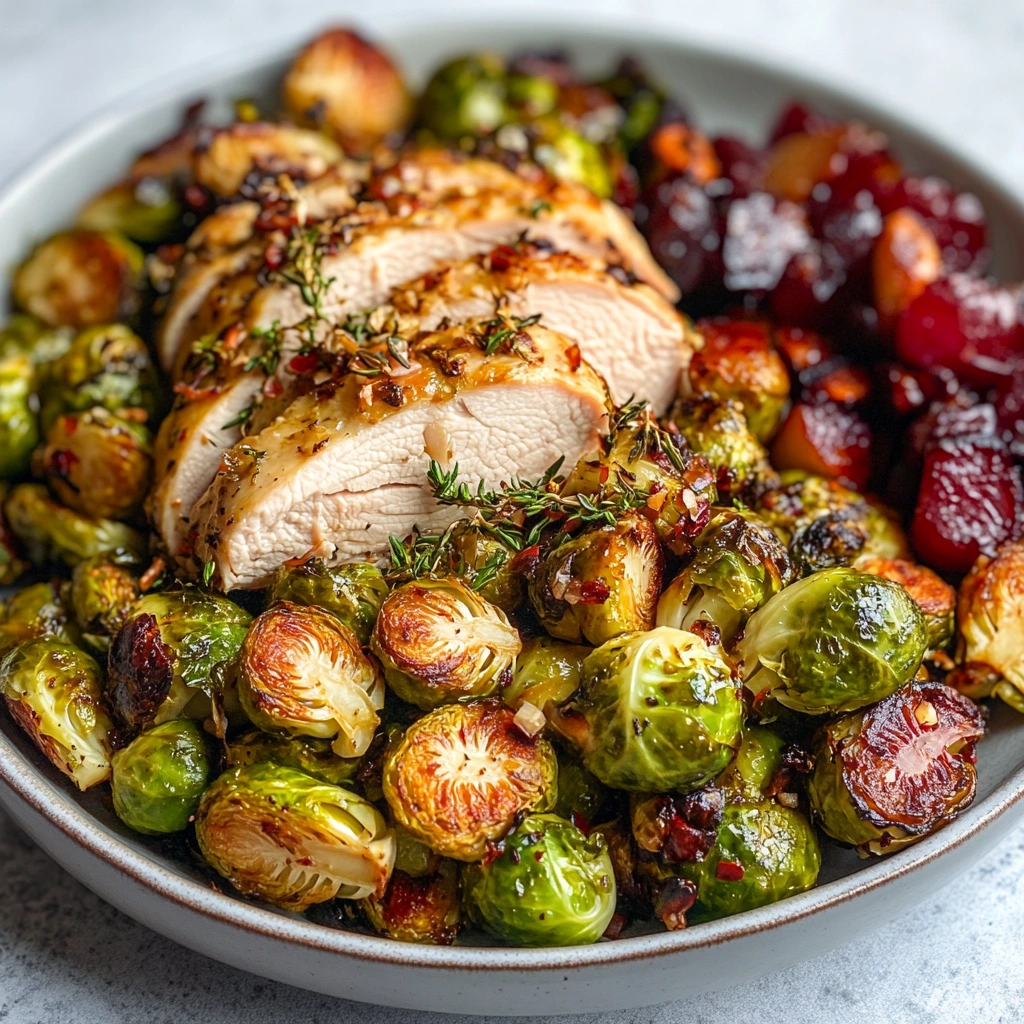
Savory & Roasted Sides:
- Honey-Glazed Carrots – Adds a touch of sweetness.
- Roasted Brussels Sprouts – Crispy and flavorful.
- Sweet Potato Casserole – A delicious mix of savory and sweet.
Light & Fresh Options:
- Kale or Spinach Salad – Refreshing and vibrant.
- Garlic Butter Asparagus – A crisp, green contrast.
- Dinner Rolls or Cornbread – Soft and buttery, great with turkey.
Best Sauces & Condiments for Turkey
- Turkey Gravy – A must-have for moisture and flavor.
- Cranberry Sauce – Adds a tangy, sweet balance.
- Herb Butter or Garlic Aioli – A creamy, flavorful touch.
How to Use Leftovers Creatively
Don’t let extra turkey go to waste—turn it into delicious new meals!
- Turkey Sandwiches – Use leftover rolls, cranberry sauce, and turkey.
- Turkey Soup – Simmer with vegetables and broth.
- Turkey & Stuffing Casserole – Baked with gravy and cheese.
Common Roasted Turkey Mistakes and How to Avoid Them
Dry Turkey? How to Keep It Moist
A dry turkey can be disappointing, but the good news is that there are easy ways to prevent and fix it. Follow these tips to retain moisture and ensure your turkey is tender and juicy.
1. Preventing Dry Turkey Before Cooking
The best way to avoid dry turkey is by preparing it properly before roasting.
- Brine the Turkey:
- Wet brine: Soaking the turkey in a saltwater solution for 12-24 hours helps lock in moisture.
- Dry brine: Rubbing salt and seasonings onto the skin and letting it rest in the fridge draws moisture back into the meat.
- Use Butter or Oil:
- Rubbing butter under the skin adds moisture and flavor.
- Coating the skin with oil helps seal in juices.
- Don’t Overcook:
- Use a meat thermometer to check doneness.
- Remove the turkey from the oven when the breast reaches 165°F (75°C) and thigh reaches 175°F (80°C).
2. Fixing a Dry Turkey After Cooking
If your turkey turns out dry, there are simple ways to bring back moisture.
- Slice and Soak in Broth:
- Cut the turkey into slices and drizzle warm broth or pan drippings over it.
- Cover with foil and let it sit for 10-15 minutes to reabsorb moisture.
- Serve with Extra Gravy:
- A rich turkey gravy adds both moisture and flavor.
- Pour over slices right before serving.
- Steam with Butter & Broth:
- Place slices in a baking dish, add broth and melted butter, and cover.
- Warm in the oven at 300°F (150°C) for 10 minutes to refresh the moisture.
3. Storing Turkey to Keep It Moist
- Store in Airtight Containers: Prevents moisture loss.
- Add a Bit of Broth: Keeps leftovers from drying out in the fridge.
- Reheat Gently: Use the oven or stovetop with a bit of broth instead of microwaving.
Undercooked Turkey? How to Fix It Quickly
If your roasted turkey is undercooked, don’t panic! Follow these quick fixes to get it fully cooked and ready to serve.
1. Check the Temperature
✔️ Breast: 165°F (75°C)
✔️ Thigh: 175°F (80°C)
🔹 Tip: Insert a meat thermometer into the thickest part without touching bone.
2. If Slightly Undercooked (5-10°F Below Target)
✔️ Return to the Oven:
- Cover with foil and roast at 325°F (165°C).
- Check every 10-15 minutes until done.
✔️ Slice & Bake in Broth:
- Cut turkey into large portions.
- Place in a baking dish with broth and cover.
- Bake at 350°F (175°C) for 15-20 minutes.
3. If Raw in the Middle
✔️ Cut & Roast Separately:
- Remove cooked sections.
- Return undercooked parts to 375°F (190°C) until done.
✔️ Use a Skillet for Quick Cooking:
- Sear smaller portions in a skillet with butter or broth over medium heat.
🔹 Tip: Cooking smaller portions speeds up the process.
4. Keep Cooked Parts Warm
✔️ Cover with foil or place in a low oven (200°F/95°C).
🔹 Tip: Avoid reheating too long to prevent drying out.
How to Store and Reheat Leftover Turkey
Keep leftover roasted turkey fresh and moist with proper storage and reheating methods.
1. Storing Leftover Turkey
- Refrigerate (3-4 days): Cool within 2 hours, store in airtight containers with broth for moisture.
- Freeze (Up to 3 months): Wrap tightly in plastic wrap and a freezer bag to prevent freezer burn.
🔹 Tip: Slice before storing for easier reheating.
2. Reheating Leftover Turkey
Oven (Best for Moisture)
- Heat at 300°F (150°C) with broth, cover with foil, and bake 20-30 minutes.
Stovetop (Quick & Even)
- Warm in a skillet with butter or broth over medium-low heat for 5-10 minutes.
Microwave (Fastest Method)
- Cover with a damp paper towel, heat in 30-second intervals.
🔹 Tip: Avoid overheating to prevent dryness.
3. Creative Ways to Use Leftovers
- Turkey Sandwiches – With cranberry sauce or gravy.
- Turkey Soup – Simmer with broth and veggies.
- Turkey Casserole – Baked with stuffing and cheese.
Roasted Turkey Questions Answered
Get expert tips for a juicy, perfectly cooked turkey with these common FAQs.
1. How Do I Keep My Turkey Moist?
- Brine it – Wet or dry brining locks in moisture.
- Use Butter/Oil – Under the skin for extra juiciness.
- Roast at 325°F (165°C) – Prevents drying out.
- Let it Rest – At least 30 minutes before carving.
🔹 Tip: Baste sparingly to avoid soggy skin.
2. How Do I Know When My Turkey is Done?
✔️ Use a Meat Thermometer:
- Breast: 165°F (75°C)
- Thigh: 175°F (80°C)
🔹 Tip: Juices should run clear when fully cooked.
3. How Can I Get Crispy Skin?
- Pat Dry & Dry Brine – Salt helps crisp the skin.
- Coat with Butter/Oil – Enhances browning.
- Roast at 425°F (220°C) for 30 min, then lower to 325°F (165°C).
🔹 Tip: Let turkey air-dry overnight in the fridge.
4. Should I Stuff My Turkey?
- Cook stuffing separately for best texture.
- If stuffing, ensure it reaches 165°F (75°C).
🔹 Tip: Use aromatics like onions & garlic inside instead.
5. How Long Should I Let My Turkey Rest?
- Rest for 30-45 minutes before carving.
- Tent loosely with foil to keep warm.
🔹 Tip: Resting keeps juices from running out.
6. How Do I Fix a Dry Turkey?
- Drizzle warm broth over slices.
- Serve with extra gravy.
- Reheat with butter & broth at 300°F (150°C).
🔹 Tip: Store leftovers with broth to prevent dryness.
7. How Long Can I Store Leftovers?
- Fridge: 3-4 days in an airtight container.
- Freezer: Up to 3 months.
🔹 Tip: Label frozen turkey for easy tracking.

A perfectly roasted turkey is the heart of any special meal, and with the right techniques, you can ensure juicy meat, crispy skin, and incredible flavor every time. From selecting the best turkey and seasoning it properly to roasting, carving, and serving, each step plays a key role in creating a memorable feast.
By following these expert tips—brining for moisture, roasting at the right temperature, letting it rest, and pairing it with delicious sides—you’ll impress your guests with a turkey that’s both tender and flavorful. Plus, with proper storage and creative leftovers, you can enjoy your turkey beyond the big meal.
Now that you have all the secrets to a tender and tasty roasted turkey, it’s time to put them to use! Whether it’s for Thanksgiving, Christmas, or any celebration, your perfectly cooked turkey will be the star of the table.